Photoshop设计打造出明亮缤纷的文字教程
平面设计 发布日期:2025/2/19 浏览次数:1
正在浏览:Photoshop设计打造出明亮缤纷的文字教程
最终效果

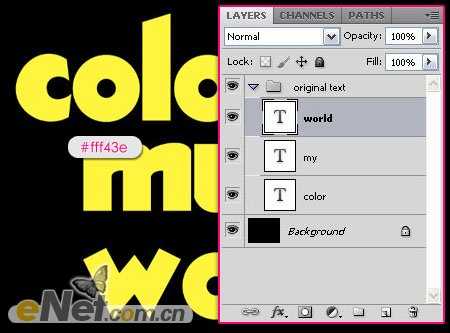
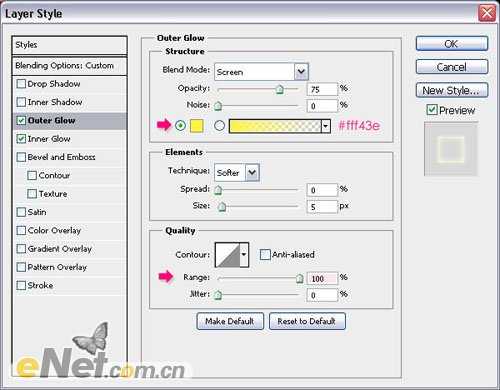
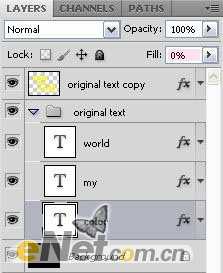
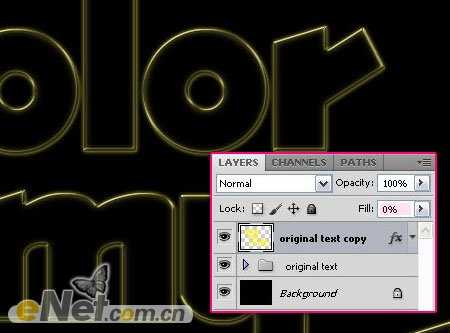
2.选择“文本”层组,双击调出“图层样式”并设置
外发光:改变颜色为# fff43e, 范围100,来缓解光
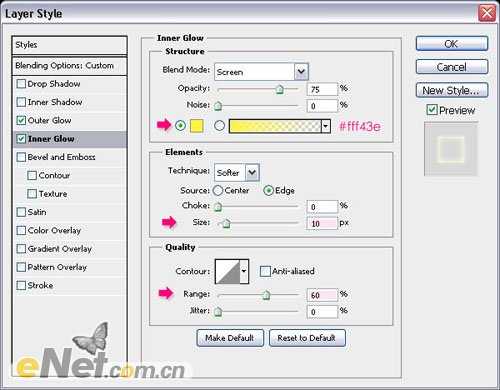
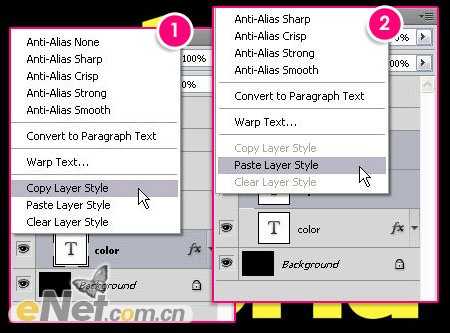

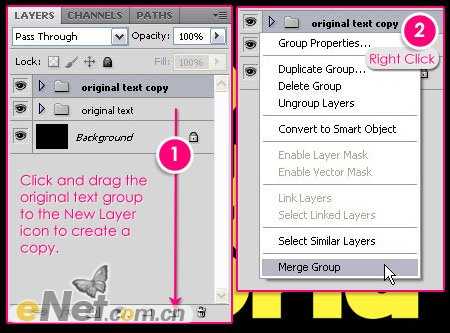
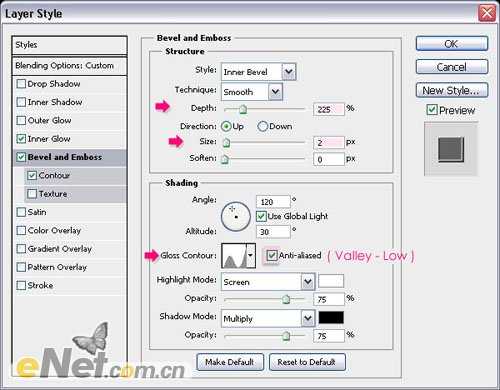
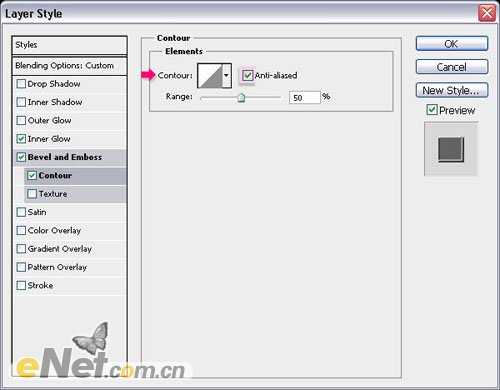
3.双击复制的文本图层,调出“图层样式”,并如下设置
内发光

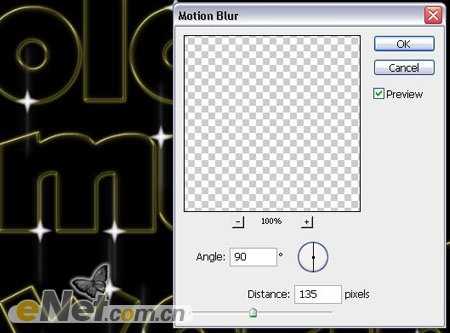
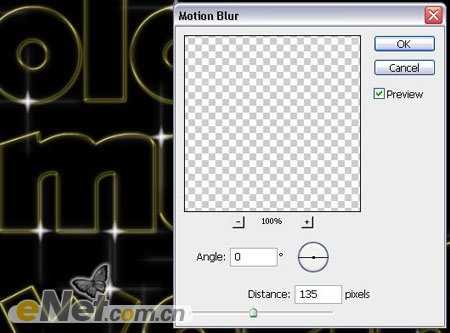
4.设置前景色为白色,新建一个层,并设置层名称为“火花”,下载一个“闪烁”笔刷,改变画笔大小为35px,如下图绘制出闪光点

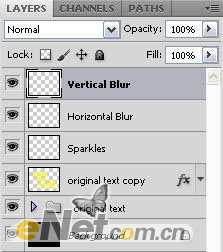
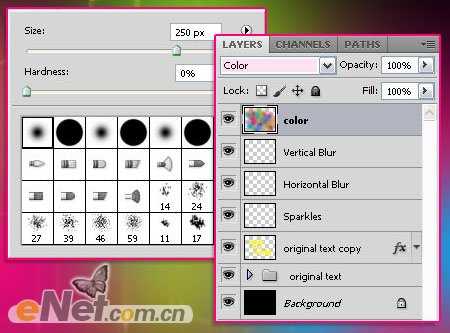
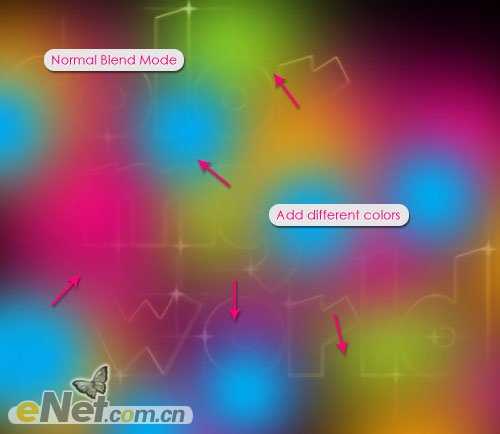
5.最后一步添加颜色,新建一个层,命名为“颜色”,设置图层的混合模式为“颜色”,选择一个柔角笔刷,大小为250px,这里是最初的设置,在绘制中你可以根据颜色和位置的不同来设置画笔的大小

2.选择“文本”层组,双击调出“图层样式”并设置
外发光:改变颜色为# fff43e, 范围100,来缓解光
3.双击复制的文本图层,调出“图层样式”,并如下设置
内发光
4.设置前景色为白色,新建一个层,并设置层名称为“火花”,下载一个“闪烁”笔刷,改变画笔大小为35px,如下图绘制出闪光点
5.最后一步添加颜色,新建一个层,命名为“颜色”,设置图层的混合模式为“颜色”,选择一个柔角笔刷,大小为250px,这里是最初的设置,在绘制中你可以根据颜色和位置的不同来设置画笔的大小