Photoshop为美女图片增加质感肤色效果
平面设计 发布日期:2025/2/19 浏览次数:1
正在浏览:Photoshop为美女图片增加质感肤色效果
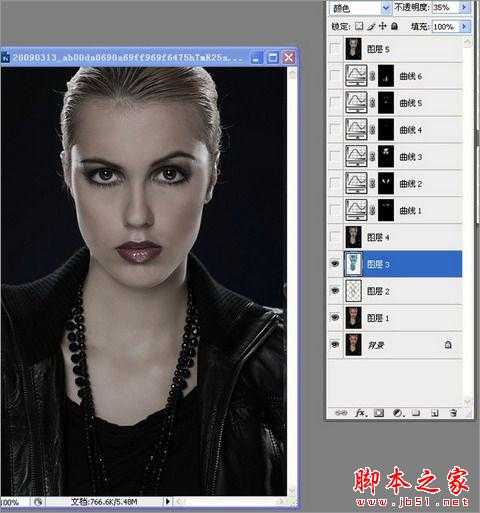
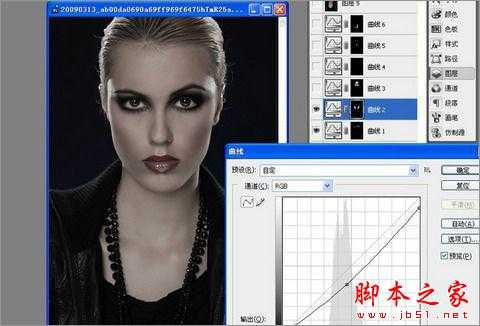
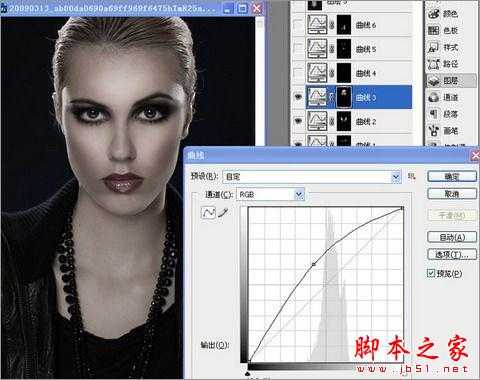
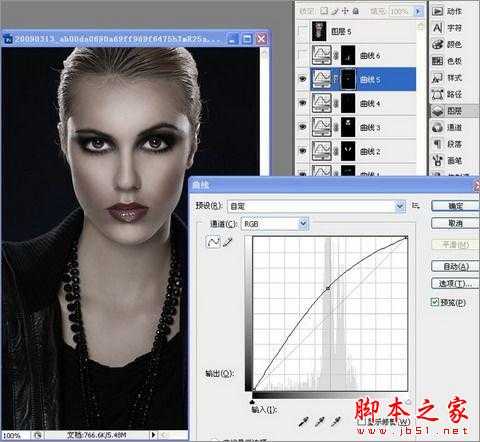
教程介绍一种比较简单的制作质感肤色方法。大致过程:先简单给人物磨皮,然后用反相图层叠加做出褐色肤色,后期调整局部明暗,增强肤色质感即可。
原图:


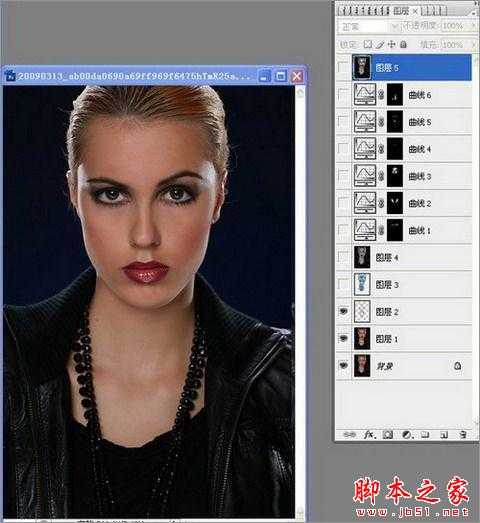


原图: